 how-to
Electrical Rough-In Timeline for Renovations
Table of Contents
- How Long Does an Electrical Rough-In Take?
- Typical Timeline by Room Type
- The Rough-In Process: What Happens at Each Stage
- Electrical Rough-In Inspection Requirements
- What Comes After Electrical Rough-In
- Electrical Rough-In Checklist for Homeowners
- Common Mistakes That Delay Your Electrical Rough-In
- Frequently Asked Questions
Last Updated: September 15, 2026
How Long Does an Electrical Rough-In Take?
An electrical rough-in typically takes 3 to 7 days for a single-room renovation and 2 to 4 weeks for a whole-house project, depending on scope, inspection scheduling, and coordination with other trades. The rough-in is when all wiring, cables, and electrical boxes are installed inside open walls before drywall goes up. At Curtis Capra Electrician, we've run rough-ins on Cape Cod renovations for over 25 years. The biggest variable is never the wiring itself; it's the schedule.
Most guides quote a flat number without explaining what drives it. Below, we break down realistic timelines by room type, what slows a rough-in down, and how to keep your project from stalling at inspection.
Typical Timeline by Room Type
Room type drives rough-in duration more than square footage. A kitchen has more circuits, fixture placement decisions, and plumbing coordination than a bedroom of the same size.
Room / Scope | Typical Rough-In Duration | Key Drivers |
|---|---|---|
Bathroom | 1-2 days | GFCI circuits, exhaust fan, vanity lighting |
Kitchen | 2-4 days | Dedicated appliance circuits, under-cabinet lighting |
Bedroom or office | 1-2 days | Outlets, switches, ceiling fixture, low voltage |
Basement finish | 3-6 days | Sub-panel, conduit runs, egress lighting |
Whole-house renovation | 2-4 weeks | Service panel upgrade, full circuit layout |
These ranges assume walls are open and framing is complete. If your electrician must trace and replace existing wiring, add time, older homes often have wiring that doesn't match current code and must be corrected before the rough-in inspection.
The Rough-In Process: What Happens at Each Stage
The rough-in process moves through five stages, each signed off before the next trade can work. Skipping or reordering stages is the fastest way to fail an inspection.
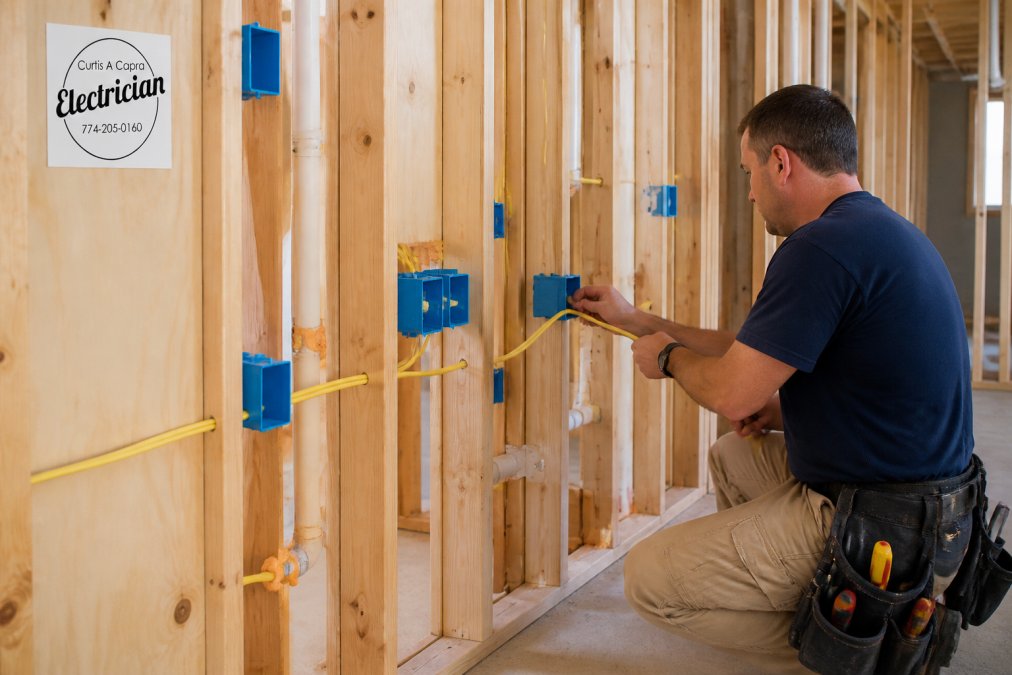
- Layout and marking. Your electrician walks the space with the plans and marks every outlet, switch, and fixture location on the studs.
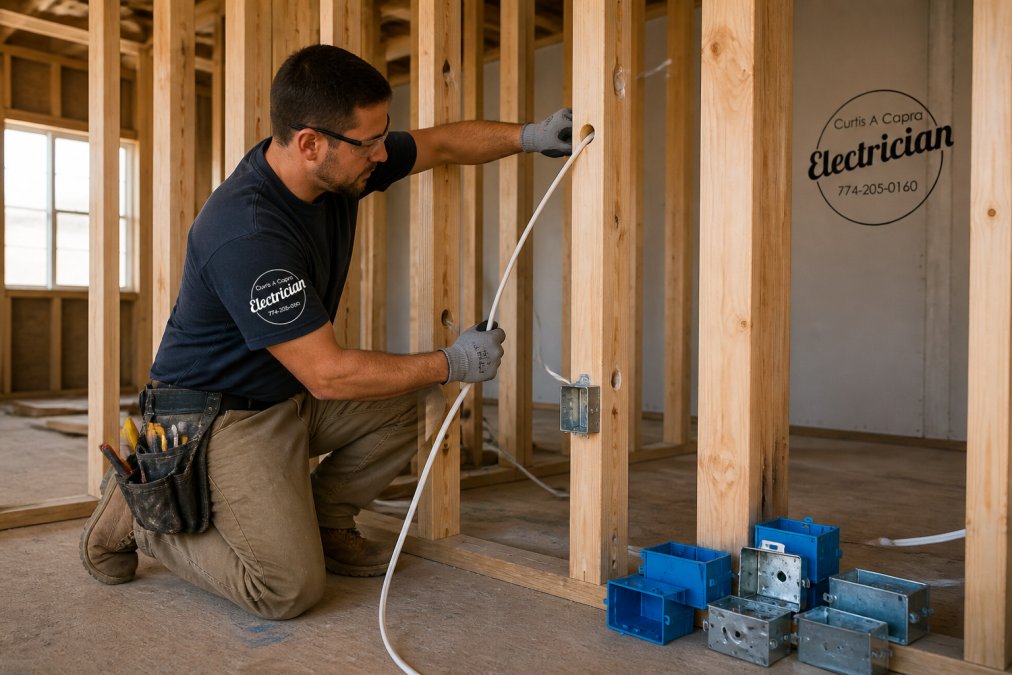
- Drilling and running cable. Holes are drilled through framing, and Romex or conduit is pulled to each box location.
- Box installation. Junction boxes, switch boxes, and outlet boxes are mounted at the correct height and depth.
- Panel work. Circuit breakers are added or a sub-panel is installed, and load calculation confirms the service panel can handle the new demand.
- Inspection. The rough-in inspection verifies code compliance before walls are closed.
Coordination with Plumbing and HVAC Trades
Mechanical trades and electrical work compete for the same wall cavities. If your plumber runs a drain line through a stud bay your electrician planned to use, someone has to reroute, costing a day, sometimes two.
The fix is sequencing. Plumbing rough-in should finish before electrical rough-in begins in the same wall cavity, and HVAC ductwork must be laid out at the same time since duct and cable runs can't share space. Builders who hold one coordination meeting before any trade starts finish rough-ins faster.
Electrical Rough-In Inspection Requirements
Rough-in inspection requirements vary by jurisdiction, but the core checks trace back to the National Electrical Code (NEC) as adopted by your state or local authority. The inspector verifies the installation will be safe once walls are closed. Permits must be pulled before wiring begins, and the rough-in inspection must pass before insulation or drywall. Skipping either can mean failing a later inspection or being ordered to open the walls back up.
What inspectors actually check, and the code sections behind each check:
- Cable securing and support. Nonmetallic-sheathed cable (Romex) must be secured within 12 inches of each box and every 4.5 feet along runs, per NEC 334.30. Staples must be tight enough to hold the cable but not so tight they crush the jacket.
- Box fill. Each box has a maximum conductor count based on box volume, per NEC 314.16. Too many conductors in a box is one of the most common rough-in failures, and it's invisible until the inspector counts.
- Box mounting depth. Boxes must be flush with the finished wall surface, with the box edge no more than 1/4 inch recessed, per NEC 314.20. Drywall thickness matters here, a box set for 1/2-inch drywall will fail if 5/8-inch goes up.
- Grounding and bonding. All grounding conductors must be spliced and connected to the box and the device, per NEC 250.148. Metal boxes require a grounding pigtail; plastic boxes do not.
- Cable protection. Where cable runs through framing within 1.25 inches of the stud edge, a steel nail plate must protect it, per NEC 300.4. This is a small detail that fails inspections regularly.
- Load calculation. For any new circuits or a service change, the electrician must document the load calculation, per NEC Article 220. Inspectors may ask to see it.
- Clearances from heat. Cable must be kept away from recessed light housings, chimneys, and heating appliances per the manufacturer's listing and NEC 310.15.
A failed rough-in means a re-inspection fee, commonly $50 to $150, plus the wait for another appointment slot, which in busy markets can be a week out (iccsafe.org). Most failures come down to small fixes: a missing nail plate, an overfilled box, a box set at the wrong depth. None are major rework, but all stop the drywall crew.
Before the inspector arrives, confirm three things: the permit is posted at the job site, your electrician's license is current in the jurisdiction, and the approved plans are on site. If the electrician is unlicensed or the permit isn't pulled, the inspection cannot proceed, and the homeowner carries the liability.
Verify a contractor's license through your state licensing board
Permit and Inspection Workflow
The permit and inspection process follows a predictable sequence:
- Permit application. The electrician or homeowner files with the local building department, submitting plans and a scope of work. Turnaround ranges from same-day over-the-counter permits to two weeks for plan review on larger projects.
- Permit issuance. The permit card must be posted at the job site. Work cannot legally begin before this.
- Rough-in inspection request. Once wiring is complete and before insulation, the electrician calls for inspection. Many jurisdictions now accept online scheduling; some still require a phone call during business hours.
- Inspection. The inspector visits, reviews the work against the NEC and local amendments, and either passes it, fails it with a correction notice, or passes with conditions.
- Sign-off. The rough-in sign-off is what allows insulation and drywall to proceed. Without it, the drywall crew is working illegally and the homeowner risks a stop-work order.
Homeowners often assume the electrician handles all of this. In most jurisdictions the licensed electrician pulls the permit and calls for inspection, but the homeowner is the permit holder of record on owner-occupied renovations, responsible for the final sign-off and any re-inspection fees.
What Comes After Electrical Rough-In
After electrical rough-in passes inspection, the next step is insulation and drywall, followed by finish electrical work. Finish electrical, sometimes called trim-out, is when outlets, switches, and light fixtures are installed and connected.
The Trim-Out Scheduling Trap
Photograph the Open Walls Before Drywall
Electrical Rough-In Checklist for Homeowners
Common Mistakes That Delay Your Electrical Rough-In
Frequently Asked Questions
How long does a typical electrical rough-in take for a residential renovation?
Most residential rough-ins take one to three weeks depending on square footage and complexity. A single bathroom or kitchen might finish in two to four days, while a full-home renovation can run two to three weeks. The electrical rough-in timeline for renovations also depends on how many trades are working simultaneously and whether framing, plumbing, and HVAC are already complete. Permit scheduling and inspection availability can add several days on top of the physical work.
What must be inspected before closing walls after an electrical rough-in?
Before drywall goes up, a licensed inspector verifies that all wiring, junction boxes, conduit, and panel connections meet National Electrical Code standards. The inspection covers wire gauge, box fill, grounding, circuit breaker placement, and proper securing of Romex. Your electrical contractor schedules this rough-in inspection once all wiring is stapled and boxes are mounted. Passing this inspection is required before insulation and drywall installation can begin, so plan for a one to three day gap in your remodel timeline.
What comes after electrical rough-in is complete?
Once the rough-in passes inspection, insulation and drywall installation follow. After drywall is finished and painted, the trim-out phase begins: installing outlets and switches, mounting light fixtures, connecting the service panel, and testing every circuit. This finish electrical stage typically takes two to five days. If you are planning smart home integration, low voltage wiring for thermostats, security cameras, or network cables should also be run during rough-in so you avoid opening walls again later.
Does electrical rough-in happen before or after plumbing and HVAC?
Electrical rough-in usually happens alongside or immediately after plumbing and HVAC rough-in, once framing is complete. These mechanical trades share the same wall and ceiling cavities, so coordination prevents conflicts. Your electrical contractor needs to know where plumbing stacks and HVAC ductwork will run to route wiring without interference. On most remodels, all three trades rough in within the same one to two week window before the rough-in inspection.